Showing posts with label candy. Show all posts

Wednesday, August 14, 2013

DIY Pencil Gumball Machine Teacher's Gift

DIY Pencil Gumball Machine Teacher's Gift, turn your favorite pencil into a Gumball work of art. Resembling a No.2 pencil, this gumball machine will bring a smile to your child's teacher for sure!
Hola Amigos! A quick and budget friendly craft for kids to give their favorite teacher for this new school year about to start soon. It's a DIY "Pencil No.2"  Gumball Machine made with materials available at your nearest dollar store.

This would be the 3rd time I've changed my Gumball machine, just to give you an idea of how versatile this project is! Here it is all dressed up for St. Patrick's and here ready to welcome Easter!
What I used:  1 dollar store fish bowl, 1 terracotta pot with 2 saucers one the one smaller than the other, Assorted paints, yellow, grey, green and pink,to resemble a pencil, gumballs or any other candy you will see appropriate, adhesive letters and numbers to spell No.2., hot glue gun or glass cement.
How I did it: Paint your terracotta pot in the same order of colors of a No.2 pencil. Once the paint is dry, add your letters (or you could paint them too!) to the bottom of the yellow pot. If you recalled, I suggested 2 saucers, 1 smaller than the other, you see, the smaller saucer will go on the inside of the bigger one and once we used this one as a "lid" for our gumball machine it will stay in place! The way you attached the fish bowl onto the bottom of the terracotta pot is by gluing it's bottom with hot glue or glass cement. Fill your gumball with candy, add any other embellishment to the lid and you are ready!
DIY Pencil Gumball Machine Teacher's Gift, this cute "Gumball Machine" will bring a smile to your child's teacher face. Fill it up with candy, cookies, paper clips, your choice, it would look great on her desk!

Isn't it the cutest thing? as I mentioned before add age appropriate candy, cookies or even why not, erasers or colorful paper clip or rubber bands!  This is only to inspire you, your imagination is the limit.

I hope I have inspired you with this easy craft and consider it as a little sweet gesture from your child to the one person he/she is going to be seeing a lot for the next few months keeping their young minds sharp!
DIY Pencil Gumball Machine Teacher's Gift, give this cute "gumball machine" as a nice to meet you gift to your child's teacher. It will look great on her desk with candies, cookies, paper clips or just by itself!

Besitos,
Lizy

Sharing some "gumball" fun at these Fabulous Parties:
Fine Craft Guild, Under the Table and Dreaming  The Real Housewives of Riverton733 BlogThe Brambleberry CottagePolkadots on ParadeWe made ThatSweet HauteThe Crafty Blog StalkerSaving 4 SixLamberts LatelyWhat's cooking, Love?The Mandatory MoochThe 36th AVENUEKatherine's CornerChocolate, Chocolate and More!Posed PerfectionHouse of the HepworthsKreative CreationzSparkles and a StoveArtsy Fartsy MamaLiving Well Sending LessDomestic SuperHeroCraftionary, Sis Sisters's Stuff Twin Dragon Fly DesignsMommiFriedCraftberry BushHappy Hour ProjectsTidy MomMy Turn (for Us)A Peek into My ParadiseThe Answer is ChocolateHappy and Blessed HomeThe Jenny EvolutionLiving Better TogetherBecoming MarthaA Simple Five, , Diana RamblesSimply DesigningChic in a ShoestringKitchen Fun with my 3 SonsThe Pin Junkie504 MainThe Triftiness MessJennifer RizzoBlissful and DomesticMy Personal AccentSunny Simple LifeNap Time CraftersAngels Homesteada Little ClaireificationCheerios and LattesBowdabraIt's OverflowingSix Sister's StuffMade from PinterestWCFSThe TablescaperLife on Lakeshore DriveA Pretty Life in the SuburbsRain on a Tin RoofHuckleberry LoveJembellishA Southern FairytaleMad in CraftsBetween Naps on the PorchCoastal CharmCupcake'n BakeWho Needs a CapeBoogieBoard CottageThe Blackberry VineSay Not Sweet AnneMy Mixing SpoonFeeding BigSetting for FourHome Stories A to ZHandmade CuddlesLadybug BlessingsNap-Time CreationsKathe with an EAdventures of a DIY MomSummer ScrapsThe Princess and her CowboysSugar Bee CraftsOur Table for SevenMemories by the MileNot Just a HousewifeBebetsy, DIY Vintage Chic The Lady Behind the CurtainThe Everyday HomeSmart School HouseDucks'n a RowCrystal and CoMade to be a MommaThank You HoneySomeday CraftsThis Silly Girl's LifeWe Like to Learn as We GoThe CSI ProjectReal CoakeCraftin Desert DivasSew Many Ways

Visit thecsiproject.com


Another Gumball Machine you might enjoy:
Kiss Me DIY Gumball Machine

Friday, June 14, 2013

Beer and Chocolate Cupcakes Recipe

Hola Amigos! Happy Weekend to all of you especially to all the fathers this Sunday. Today I'm sharing with you the perfect dessert to serve dad on his special day, but also for summer BBQs , birthdays or gatherings with friends this grilling season! My beer and chocolate cupcakes for the beer lover in your house...never forgetting some chocolate for the lady behind the man!


I have tried this recipe several times  I found  it a while back  in a little insert that came with a specialty beer set I got my hubs a few Christmas ago, it's pretty straight forward and since then I've changed the taste of the cupcakes by using different flavored beers. This is my adaptation to the original recipe.

Beer and Chocolate Cupcakes

1 stick Butter, softened
1 1/4 Cup Brown Sugar
1/4 Cup Unsweetened Cocoa
2 Eggs
1/2  tsps Salt
1/2 tsps Baking Soda
1/2 tsps Baking Powder
1 Cup Flour
1/2 Cup Flavored Beer, I used Leinenkugel's Berry Weiss
1/2 Cup Water
1 tsps vanilla extract
Heat up your oven at 325 degrees and place liners on a 12 cupcake baking pan. Set aside.
Mix together butter, brown sugar and cocoa until everything is well integrated. Add eggs one at a time and mix everything at medium speed. 
In a separate bowl, whisk together the salt, baking soda, baking powder and flour until everything is well combined.
In another bowl mix beer, water and vanilla.
Now it's time add wet and dry ingredients to the chocolate batter. First liquid, followed by dry in an alternate way while mixing on medium speed. Repeat the procedure until all the ingredients are mixed.
Spoon this mix on the lined cupcakes  3/4  full. Bake for 18-20 minutes until a toothpick in the middle comes clean. 
Icing

1 Cup of Butter
2 TBSP Flavored Beer used above
2 Cups Powdered Sugar
2 TBSP Heavy Cream
1 Tsp Vanilla.
Beat this ingredients together until fluffy and ready to spread over cooled cupcakes.

Listo,

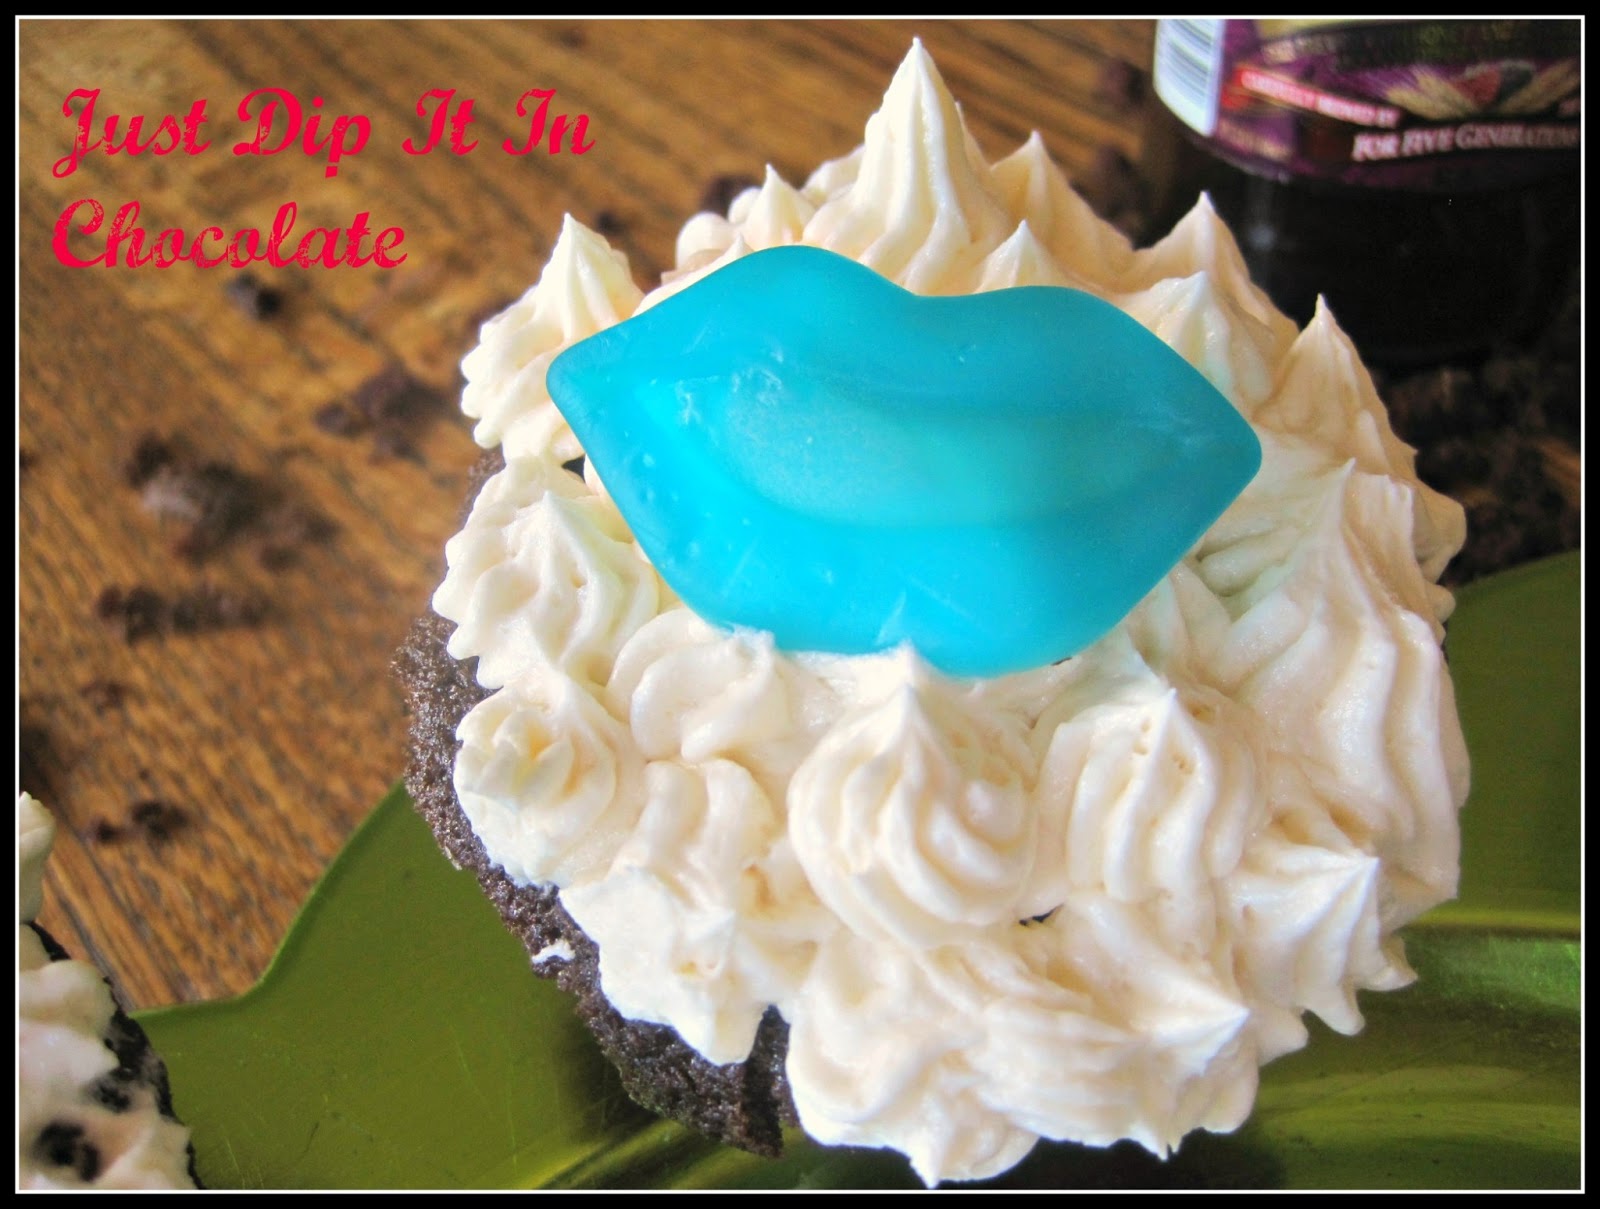
Since I'm really bad at decorating, I found these delicious gummy "smoochies" and added a touch of whimsy to my cupcakes!

Aren't they a cute way of giving daddy a kiss?

You can really taste this particular beer on the cupcakes and the icing...in fact it intensifies the chocolate flavor! Yummm!

Give your husband a Big Chocolate Smooch this Sunday!

Wishing all the Fathers a wonderful Father's Day full of love and laughter.
Always keep in mind my friends, that everything tastes better with a Pinch of Love!...and a beer!

Besitos,
Lizy

Sharing some spiked cupcakes at these Fabulous Parties:
Cozy Little House
Memories by the Mile
Organized SAHM
Love Bake Good Cakes
Our Home away from Home
Nap Time Creations
Sugar Bee Crafts
Pint Sized Baker
Hun..what's for dinner
Kathe with an E
Love Grows Wild
I Gotta Try That
The Tumbleweed Contesssa
Rain on a Tin Roof
Serendipity You
Ms. enPlace
Sweet2Eat Baking
Th ePlaid and Paisley Kitchen
twelve0eight
Spatulas on Parade
Rattlebridge Farm
Flamingo Toes
Diana Rambles
Kitchen Fun with my 3 Sons
Walking on Sunshine
Sincerely, Paula
Sunny Simple Life
The Thriftiness Miss
My Romantic Home
The Dedicated House
Just Us 4
Call Me PMc
The Best Blog Recipes
The Tablescaper
Sew-Licious Home
VMG206
The Wondering Brain
Desert Now, Dinner Later
Life on Lakeshore Drive
Will Cook for Smiles
Frugal Foodie Mama
Claire Justine oxox
Cupcake-n-bake
Under The Table and Dreaming
Chef in Training

Friday, March 29, 2013

Washi Tape Spring Gumball Machine

Hola Amigos...Good Friday to you all! Today was a day I meditated about Love...Let's love each other as He Loved Us. Looking forward to the big celebration on Sunday, Easter Sunday!

Just a little note before getting into our project today, as you have noticed my pictures are now watermarked right in the middle due to some unscrupulous people stealing not only pictures but the entire content of my posts and claiming them as their own. This as we all know is illegal and I will try my best to at least deter them from doing so by having this stamp right on my picture. I have tried to make it not as intrusive so you can still appreciate the content. Thank You friends for your understanding.


Today I'm bringing you an easy last minute quick craft where I experimented with the current rage among crafters, Washi Tape. I didn't spend a whole lot of money on it either, my luck, I found it on sale at Target for  $1!!! Not bad if you want to give something new and unknown to you a try right?

Trying to find out a bit more about this Washi Wonder Tape, I learned it originated in Japan, Wa ( Japanese) Shi (paper)  and it's basically a natural fiber tape, a natural masking tape, pretty than the traditional but masking tape after all! Prices ranges depending on the quality, I was able to find them online  from $2.50 per individual roll to up to $8.00 per roll depending on the quality.
But back to our project, I decided to bring my good old Kiss Me Gumball Machine I used for St. Patrick's up to date with the season with a Spring Inspired Decor and Washi.
As you can see, I covered the base of my Gumball Machine with the Washi Tape and embellished it with a couple of flowers. 

The tape was fairly easy to use but it was a bit hard for it to stick permanently to the terracotta material. I made sure and used some ModPodge to keep it in place.
I painted pink the rest of the gumball's areas and put a little spring ribbon around the top one! I just love that ribbon, so festive, and matched the colors of all the designs on the Washi Tape which was a plus!

To top it all of, what else...a cute $1 store bunny I refinished it with white and metallic paints diluted in just a bit of antiquing medium.

A couple of eggs here and there and some moss...Voila! I just made a  very festive Easter Jelly Beans Machine to adorn the kids table for  Easter's brunch , kitchen counter or office desk throughout the entire Spring Season, watch it people will be stopping by very often! lol


So what it's my opinion about Washi...well..I think I rather use paint..Don't get me wrong, the greatest  advantage of Washi is that as any tape it's  easy to remove, just peel it off and you are ready for a new project,, but you could also cover some previous paint job with primer.

I believe that if it is used in scrapbooking, card design and origami it's an excellent tool since it comes in a variety of colors and designs and it's very flexible but resistant as well.
This is just my personal view of Washi. Perhaps you've found more creatives ways to use it than me and I would love to see your projects or for you to share your opinion. So far if you search the immense world of Pinterest on Washi, board after board you will find a few very creative projects but in the majority of them you will find Washi Tape use for what it is, a very fancy tape! 

Hope you got a little inspiration from today's project! Wishing you a very peaceful Good Friday Evening and an even better Holy Saturday.

Besitos,
Lizy

"Washing" with Fun at the Fabulous Parties:
Under The Table and Dreaming
Diana Rambles
Bowdabra
Just Us Four
Your Homebased Mom
iHeartNaptime
Flamingo Toes
Classy Clutter
Will Cook For Smiles
Sew-licious Home Decor
Keeping it Simple
Create with Joy
Frugal Foodie Mama
A Humble Creation
Clippie Dips
Sugar Bee Crafts
Nap-Time Creations
Do Small Things with Love
Love Grows Wild
Feeding Big and More
Memories by the Mile
With a Blast
No Holding Back
Judy H-J's Thoughts
The Ironstone Nest
Ginger Snap Crafts
Twin Dragonfly Designs
Clean and Scentsible
Adorned From Above
The Shabby Creek Cottage
Beyond the Picket Fence
Handy Man, Crafty Woman
Real Coake Family
The Mandatory Mooch
Marigold's Loft
No Minimalist Here
Simply Designing
Rose Chintz Cottage
The 36th Avenue
Mom on Time Out
Seven Alive
504 Main
One Artsy Mama
My Turn (for Us)
Chic on a Shoestring
Kitchen Fun with my 3 Sons
The Home Girl
Sparkles and a Stove
Classy Clutter
Chef in Training

Visit thecsiproject.com

Friday, March 15, 2013

Spring Clay Pots with a Surprise (Dirt Cake)

Rapidito en Viernes=Quicky Fridays

Hola amigos! Hope you all had a great, healthy and productive week! Today I'm bringing you a little treat perfect for Spring, Easter, Birthday party..the sky is the limit when you are using your imagination.
It all started with a trip to the dollar store where I purchased everything I needed for this dessert. 1 bag of candy turned into 2, 3 ...well they kept multiplying,...and believe me when I tell you guys, I just went in for a big bottle of Iced Tea...oh well...since I can't bake or use fondant just create pretty things with icing...I figured, why not use what is already there to treat my guys with something festive for spring.
Here is how you make the Spring Clay Pots with a Surprise:


1 box of chocolate cupcake mix
4 little containers of chocolate pudding ($1 for 4 at the dollar store)
1 envelope of unflavored gelatin
1 cup of boiling water
1/4 cup sugar
1/2 tsps vanilla butter food flavoring
transparent tumbler cups
non toxic brown paint

 Assorted Candies...don't forget to include gummy worms

First bake your cupcakes according to instructions. Even though I used cupcake  mix I baked mine in a 9 inch baking pan. 
While your cake is baking. Prepare the tumblers by painting the outside of them in brown paint. Let them dry.
See little helper...he was working hard on hid clay pot!

Some of them I only painted half (for the surprise)...there is a method to my madness folks!

Prepare your unflavored gelatin. By adding the boiling water to a container with the gelatin and sugar. The gelatin should dissolve in 5 minutes. Add the vanilla butter flavoring. 
Distribute evenly in 4 tumblers. Put a couple of gummy worms inside. Place in the refrigerator to chill and set.

Once the gelatin mix has set, take some pudding and add it to each tumbler, as much or little as you want, I used 1 full pudding cup per tumbler, but that's just me.
Take a slice of your chocolate cake, crumble it and fill up the tumblers to the top with it!
Listo, it's time to use your imagination to decorate your clay pots!


Worms coming out of wet dirt (the wet effect is chocolate syrup)

A bunny and it's carrots in a field of greens...happy as he could be!

A little nest with twigs dusted on early snow...so sweet!

And a bouquet of flowers ready to be picked from your personal clay pot..

and oh, it you were wondering about the surprise...here

My little one was thrilled to find "critters" coming in and out, and swimming underneath all that dirt in his clay pot, oh and they refrigerate well too!

Hope you like what I've brought you tonight. May all of you have a wonderful and blessed weekend.
Remember everything tastes better, with a Pinch of Love!

Besitos,
Lizy

Wednesday, February 20, 2013

Kiss Me DIY Gumball Machine

Besame, Besame Mucho= I'm not Irish but Kiss Me Anyway

Hola Amigos! Happy Wednesday to all. Today I worked on a very quick project, Pinterest inspired and perfect for the coming St/ Patrick's Day Celebration!. It literally takes longer to watch the paint dry than to assemble it and have it ready for candy to be displayed in style and whimsy!

For this DIY Gumball machine, you would need: 1 4 inch terracotta pot, 2 4 inch terracotta saucers, 1 2 inch terracotta saucer, adhesive good enough for terracotta and glass, 1 glass bowl (mine from the dollar store), ribbon, your favorite green paint, decorative hat (or wooden knob) acrylic letters and favorite candy.

The day before paint your saucers and pot and let dry overnight.
Once it's dry...start assembling, first the pot, opening upside down, top it with one of the saucers by adding glue to the bottom of your terracotta pot and placing one of the saucers right side up as to hold the glass bowl.

 Put some adhesive on the bottom of the glass bowl and glue it to the saucer previously attached to the pot. You are half way there! Glue the wooden knob on the upside down bottom of your second saucer...in my case I used a Leprechaun's hat!...

Decorate with ribbon, and your favorite Irish Phrase, fill it up with candy  and you are done!...1-2-3- super easy


The extra little saucer I glued in the inside of the "lid saucer" to avoid the moving all over the place of the lid as shown here

Just a few steps, a cheap project, all together for about 7 dollars...I believe the candy was more than the pot, saucer and bowl all together...but that's usually the case with candy.

I'm really liking it...the color possibilities are endless for every holiday imaginable!

What I like the most is the Kisses...yes..just because you are not Irish, doesn't mean you don't like to be kissed, right?

Hope you liked my little project here..sweet, festive, cheap and easy..just the way I like it for my middle of the week craft!


Irish Kisses....I mean Besitos,
Lizy