Showing posts with label how to's. Show all posts

Thursday, July 5, 2012

DIY: How to make Pom Poms

DIY Pom Poms
This little kitchen has been keeping itself busy.  Between the catering, throwing parties for family and friends and the ever important wedding cake deadline that is slowly creeping up on me, time is going faster than I could have ever imagined.  I had big plans of reminding you about the perfect Fourth of July pie and equipping you with cold soups that make this summer heat seem not so oppressive.  But between the long days of cooking, many nights have been spent on these little fluff balls to spice up parties and gatherings.  And I promise to be back with cold soups and other goodness soon.

For now, let's pom!
I have also spent a good amount of time emailing out instructions on how to make these since I first posted about this party in January so I figure it's about time I share in pictures.  My brilliantly creative friend Abby brought these pom poms for her sister's baby shower and I have been using them ever since.  

They are cheap, easy and the possibilities are endless, but before you head off to the craft store, let me warn you of one thing... they seem to take way longer than you would ever imagine.  The process of making one is not that involved, but to create a great effect, you need quite a few.  

If you plan on diving into this endeavor, I would assemble a crowd and maybe put on a movie while you pom.  Yeah, I've made so many of these, I've turned it into a verb... pomming.

Materials:
Yarn
Scissors
Hot Glue Gun (for securing poms to yarn... see note at the bottom of the post for other ways to string)

Grab some yarn.
Michael's craft store has a great selection and often goes on sale for 1/2 the price.
DSC_0717
Begin to wrap yarn loosely around four fingers.  Do not wrap really tight or you will have a hard time removing your hand from the middle. Depending on how think you want the poms, you can change up how many times you want to wrap, but I would guess mine were between 30-50 wraps per pom.
DSC_0719
Cut yarn and remove yarn from your fingers. Find the middle of the loop.
DSC_0726
Cut a small piece of yarn from the roll and wrap it around the center of the loop.
DSC_0730
Tightly knot the string around the middle.
DSC_0731
Trim ends of yarn tied around the middle.
DSC_0734
Insert scissors to the middle of the loop and cut.  Turn pom over and do the same thing to the other side.
DSC_0736
Now you will have a frilly little pom on your hands.
DSC_0739
Trim long edges of pom so that you have a perfectly round ball.
DSC_0742

When ready to string, heat up the glue gun.  Using the same ball of yarn (or a different color), pull out a large strand from the yarn ball.  I do not cut the yarn until I am finished gluing the poms so I have the right length.  Put a couple of dots of glue in the middle of the ball.  Press piece of yarn onto glue.  Press pieces of yarn on pom ball into the hot glue to make it stick.  Depending on how far you would like the poms spread out, continue to glue on piece of yarn.

Note: When I saw these originally made, Abby used a straight pin and yarn to string them together.  I have never been talented with a thread and needle and I could not make this work.  I found gluing them to be really easy to get each pom exactly where I wanted it.  You can easily cut the string off and change up the order or color after you have used them once.  


These poms are great for a photo back drop...
Untitled
Or provide a pop in trees...
Untitled
Maybe dangling over a food table...
IMG_1945
The possibilities are endless.

Happy pomming. 

Monday, February 20, 2012

How To: De-Seed a Pomegranates

pomegranate seeds
I'm sorry... what?  Excuse me?  Did you just say it's the middle of February?  

Please, stop.  Just stop. 

I didn't make it through my list of soups to make... oh great, it's already 70 degrees outside. 

I went to San Francisco and haven't even told you about it yet. (one word for now... Tartine)

I didn't get a chance to get crafty for v day this year.   

At least I'm trying to be proactive... I'm trying to wipe the cobwebs off this place. 

Sure, it's only been a couple of weeks but there has been a lot I want to share.  Time will come back one day... I can feel it. 

For now, I must talk about pomegranates and I must do it quickly.  These exotic puppies are already at the end of their season.  They are getting noticeably smaller and a bit sad on the grocery aisles... not nearly as plump and cheap as they were during the height of the season in December and January, but alas, it is still not too late.  

Grab a pom and let's get the seeds out of that sucker.  

Throw them in Greek yogurt, toss them in a salad or eat spoonfuls all on their own.  They are great.... and apparently super healthy... bonus points. 

What you need...
a pomegranate
a sharp knife
plastic cutting board (or anything you don't mind staining red)
a medium sized bowl, filled halfway with water
Warning:  Pomegranate juice will stain everything! Wood... clothes... white dish towels.  Unless you want everything a tinge of pink, make sure you are careful with this guy.  I like to use a plastic cutting board on top of my wooden board and I wouldn't be wearing my favorite white shirt... those seeds can spit. 

Lay your pomegranate on a plastic surface (or something you do not care about staining).
Slice off the top. 
pomegranates6
Oh, now we are talkin... what a piece of art.
pomegranates7
Using a sharp knife, cut along the white stuff... also known as the membrane.
pomegranates8
Gently break apart the segments of the pomegranate.
pomegranate 9
Place each segment over the bowl of water. Submerge the segment and loosen the seeds.
pomegranates3
The seeds will sink to the bottom and the white stuff will float to the top.
pomegranates4
  Skim the white parts off, drain the water...
pomegranates2

and there you have it... a bowl full of gems.pomegranate seeds
I had quite the plump pomegranate so I did not go after every seed.  If you want to get every last one, continue to submerge each piece in your bowl of water a loosen the seeds.
pomegranates5


Monday, November 28, 2011

How To: De-Stemming Kale

My line of kale I planted in the garden is busting at the seems with wonderful curly kale.  I am going to try and work this super food into some tasty dishes so before we begin, let's talk about what it means to "remove the stems>"

In most kale dishes you will want to get rid of the stem and just have the leaf so here we go.

Lay out each piece of kale.
stemming kale

Run your knife down each side of the thick stem in the middle.
stemming kale 2
And then it's ready to torn, chopped, pureed or left in whole chunks. kale and kiwi smoothie 5

For an even speedier method, you can fold the leaf on top of each other, like this.  And then you only have to run your knife down the side of the stem once. 

Monday, April 4, 2011

The tale of a chicken cutlet.

cutlet
Are you familiar with the term chicken cutlet?  If not, let me put it in these terms.  You go to the store and buy a boneless skinless chicken breast.  It's this thick and chunky piece of meat that sometimes even has a little bit of fat on it.  Now you go to a restaurant and order some fabulous chicken dish and you get this tender, very thin and juicy piece of meat.

Maybe it's just me, but for a long time I just could not figure out how to get that kind of chicken at home.  Enter the term chicken cutlet.  This is that sweet thin piece of chicken that soaks up any kind sauce wonderfully.  So this is a quick how to on how to get yourself one of those.

Now there is nothing glamorous about a fledgling piece of meat or the fact that I only had my iphone to photograph with, so I chose the dramatic black and white photos to tell the story of the chicken cutlet.


Take a chunky, straight from the super market, boneless, skinless chicken breast.  Place it on parchment paper on a sturdy counter top.
chicken 1
Using a sharp knife, cut the chicken in half horizontally.  If your chicken is not too thick, you can skip this step, but I have never met a piece that didn't need a slice. Cut off any pieces of white fat.
chicken 2


chicken 3
The preferred tool would be a meat tenderizer so if you have one, pound out the chicken until it's extremely thin.  If you do not have one of these, lay a piece of parchment paper on top of the chicken and use the bottom of a very sturdy, thick glass and pound it out really thin.  You could use a rolling pin to pound it too.
chicken 4
In summary, the step I found the most important is cutting it in half horizontally.  This leaves only a little pounding left to do.  I'll be back soon with a couple of my favorite recipes using chicken cutlets.  If you take my word for it, try this one or this one.  They were part of my picture debacle so there are not photos of the finished product, but they sure are tasty.

Tuesday, February 15, 2011

come tweet with me.

DSC_0690


Are you on twitter? I am... sort of. I only post about new recipe updates. Have any suggestions for good people to follow? I don't totally get what it's all about, but I figure I should at least find some fun people to follow since I have an account. I was really just working on my icing skills since that's on my list, and I sure had fun making these with my friend Jennifer. I made this one for my brother who is quite the tweeter. Hello joshthemoore.

Want to work on icing sugar cookies? Click here for some hints on getting those from-a-bakery-looking cookies.

Tuesday, March 2, 2010

The best home cooked chicken I have ever had.

IMG_6493
Okay, enough about cookies... this is important.  I believe I have discovered the best way to cook chicken ever! And I do hope you are soaking in the gravity of this situation because it has changed so much.  This and this have both been given more flavor and the possibilities are endless.  I have never had much luck with chicken and have been on a kick to find better ways of cooking.  I'm a little worried I won't continue my quest because I love this roasted chicken so much.  It is simply roasted chicken.
I have always been a boneless, skinless chicken breast kinda gal.  I knew there were other cuts with more flavor and versatility, but I have a tendency to get a little funny about meat.  I would rather not deal with bones and skin... until now.  So when I started cooking things that needed chunks of chicken, I would just boil the chicken like I did here.  I think my boiling days are over.

And also I would like to mention that this is the quickest and least messy method I have found too.  To borrow a phrase from Ron Popeil (who I use to have a weird obsession with... yes, I do own a food dehydrator and the must-have counter top rotisserie)  "set it and forget it."

This is why my trusty little meat thermometer has also changed everything.  I can literally pop the thermometer in a piece of chicken, and the timer will go off when the chicken is at a perfect internal temperature.
IMG_6487

Roasted Chicken
Recipe Notes
You can season this chicken with whatever you want.  If you are putting it in a Mexican dish, think about adding some chili powder or extra garlic powder or if it's Italian,  maybe add some extra fresh herbs... no matter what, you really cannot mess this up.  If you are planning on eating the skin, you might want to be a little careful with how much salt you use, but if you will be discarding the skin, the more seasonings the better to cook into the meat.  If you do not have a meat thermometer, you can roast for about 45 minutes to an hour, depending on the size.  
Ingredients
Bone in, skin on chicken breasts (also called split chicken breasts)
olive oil
Kosher salt and pepper
Garlic powder
Other herbs and spices, optional
Step by Step
Preheat the oven to 375 degrees.  Lightly spray a baking sheet with edges or a roasting pan with cooking spray or lightly coat with olive oil.  Spread chicken in a single layer on baking sheet.  Rub each breast with a little bit of olive oil.  Heavily salt and pepper the skin.  Sprinkle with garlic powder as well and any additional herbs or spices you would like to use.  Stick one of the breast with a digital meat thermometer and set thermometer for an internal temperature of 150 degrees.

So whether you want to serve this with some veggies for dinner or cut it into chunks for a soup or salad, give it a try... I think you will be thrilled.

From my little kitchen to yours... Enjoy.

You can roast this chicken with some veggies to have a complete meal ready when the chicken is done...
IMG_5650
...or you can remove the skin, and cut it into chunks for a casserole or salad.  My personal favorite.

IMG_6495

Friday, February 26, 2010

Perfectly Iced Sugar Cookies

IMG_6454

Here it is! The sugar cookie recipe (if you can call this a recipe) and a great way to ice them.  I have to giggle at all of the nice, but firm comments that have been left about wanting the recipe, but  you are going to giggle when you see how easy this is.  I have to thank my friend Katie's mother, Mrs. McAfee, for sharing this with me.  All through college, Katie would receive the most darling sugar cookies and I was just sure they were from a bakery, but it turns out her mom would whip them up all the time.  After several attempts of making sugar cookies that wouldn't keep their shape and canned icing that you would have thought a kindergartner schlepped on them, I got up the nerve to ask Mrs. McAfee for her secret recipe.  She was more than happy to share with me this "secret" recipe, which turned out to be a bagged cookie dough.  I could hardly believe it... they were so tasty and seemed so special.  Although this is basically a mix, I look at it as simply pre-measured ingredients.  You are still adding your fresh eggs and butter so there is a distinctively different taste from the refrigerated cookie dough. It turns out there are slightly different directions for "cutout cookies" on the back of the bag, which helps the cookies keep their shape and make that thin perfect cookie.  So here you are, get yourself a bag and get crackin.

I am by no means am a great baker, but I have found success with royal icing and the more times I have tried it, the better it gets so I will share what I have learned.

From my little kitchen to yours... enjoy.

Cutout Sugar Cookies
Recipe Notes
The technical term for this icing that goes on liquid and dries hard is royal icing.  It allows you to get that smooth glossy look.  Mrs. McAfee told me she just uses powdered sugar and milk with a pinch of salt.  You just mix in milk to the powdered sugar till you get a thick, but liquidy mixture.  After researching royal icing, I found that a lot of people used meringue powder.  I decided to use this in my icing and loved the results.  I purchased it from Michael's craft store, but you could also get it at specialty baking stores.   So if you are just experimenting, you could start with milk and powdered sugar or delve into the world of meringue powder and follow the directions below.
More on the icing...
Start with the ingredients below, but then make adjustments according to how your icing looks.  You want a liquid substance, but not thick enough to hold when you outline the cookies.  You can easily change the consistency by either adding a few drop of water to make it more runny or more powdered sugar to thicken it up.
Equipment
small squeeze bottles or a piping bag fitted with a small tip
small bowls or tupperware, one for each color icing you would like
Ingredients for dough
Betty Crocker Sugar Cookie Dough
+ Ingredients listed on the back of the bag under Directions for Cutout Cookies
Ingredients for Icing
3 cups confectioner's sugar (powdered sugar)
3 tablespoons meringue powder
4 tablespoons water or milk
a pinch of salt
Step by Step
Follow directions on back of bagged cookie dough and allow to cool completely.
*A note about the cookies... when these cool, they will actually be on the crispy side.  Do not throw them away! They magically become soft again when you ice them and let the icing soak into the cookie.

Mix all icing ingredients on low speed for 5 to 7 minutes or until the icing loses its shine.  To test the consistency, pick up some icing with a spoon and let it drizzle back intot he bowl.  The drizzle should disappear back into the bowl in about 6 seconds.  If icing is too stiff, add a few drops of water. If icing is too liquid, add a bit of powdered sugar.  Optional: If using different colors, divide icing into separate bowls.  Add color to icing and cover until ready to use.

*If you will be using a lot of different colors or will be icing for a long time, make sure and cover any icing that is not being used because royal icing dries and hardens when exposed to air.
Icing A Sugar Cookie
Outline the cookie with a piping bag fitted with a thin tip or a small squeeze bottle. 
IMG_6435
Allow the border to dry slightly.
IMG_6436
Flood the cookine by spooning icing into the middle and smoothing it out with a spoon or knife.
IMG_6446
If adding sprinkles, do so before icing hardens.  Allow icing to harden for at least a few hours.  If adding another layer, wait until first layer is completely dry and hardened.  
IMG_6448
Kinda fun to do half with sprinkles to switch it up a bit...
IMG_6466

IMG_6467

Monday, November 30, 2009

How To: Caramelize an Onion

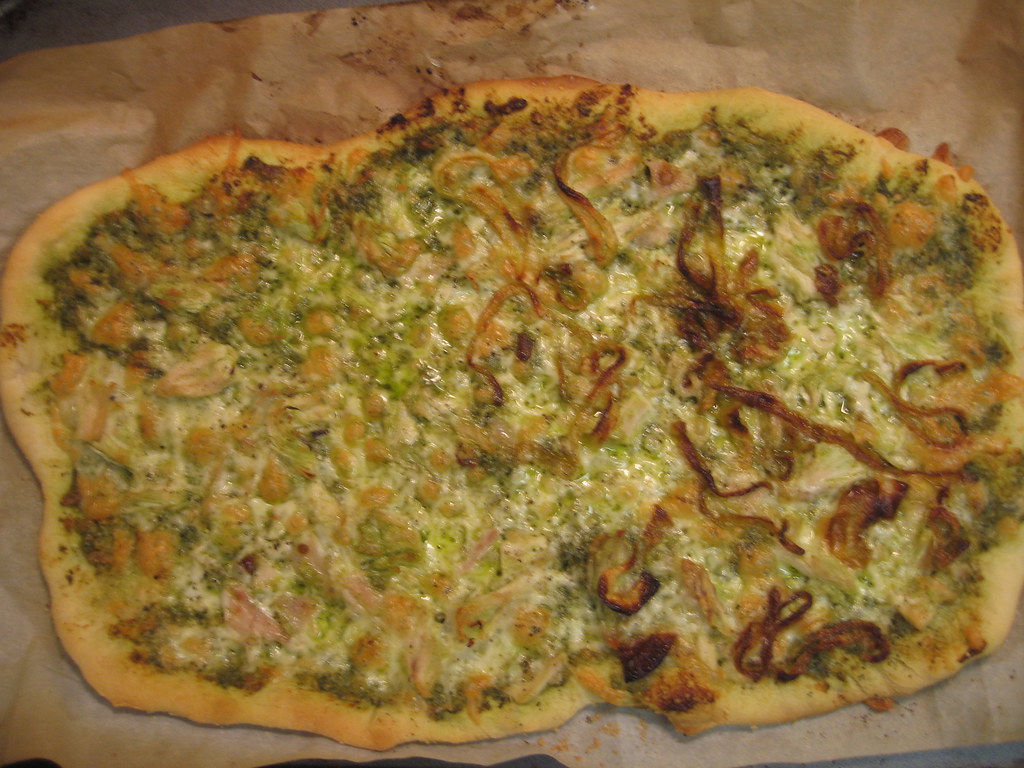
Well, another first for my Little Kitchen... caramelizing an onion. This was starting to feel like a secret ingredient to me on great sandwiches, pizzas and even soups. These salty and sweet onions seem to make everything a little gourmet and a little special so I decided it was time to experiment. In my experiment, I found two keys to great onions... time and temperature...lots of time and low temperature. Do not be scared by the lots of time. Although it can take up to an hour for great caramelized onions, it is not necessarily hands-on time. You need to give these a good stir every once in a while, but I made these while I cleaned the kitchen and made dinner one night. I was also able to use the onions all week on sandwiches and pizza. I have to say they are my new secret ingredient on my chicken pesto pizza. So make a batch and use them all week.


How To: Caramelize an Onion
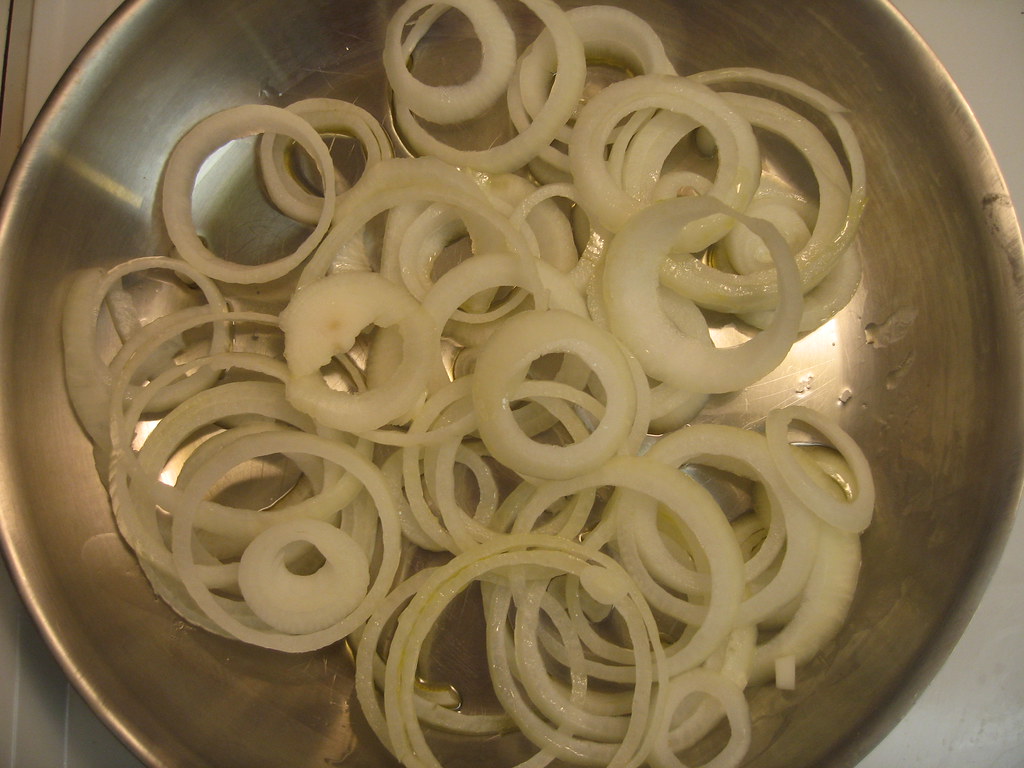
1.  Slice off the top and root ends of the onions and peel.
2.  Thinly slice the onion.
3.  Heat a wide saute pan over medium high heat.  Coat the bottom of the pan with olive oil (about a teaspoon per onion).
4.  Spread onions evenly so that they cook evenly.
5.  After 10 minutes of cooking, sprinkle with salt.
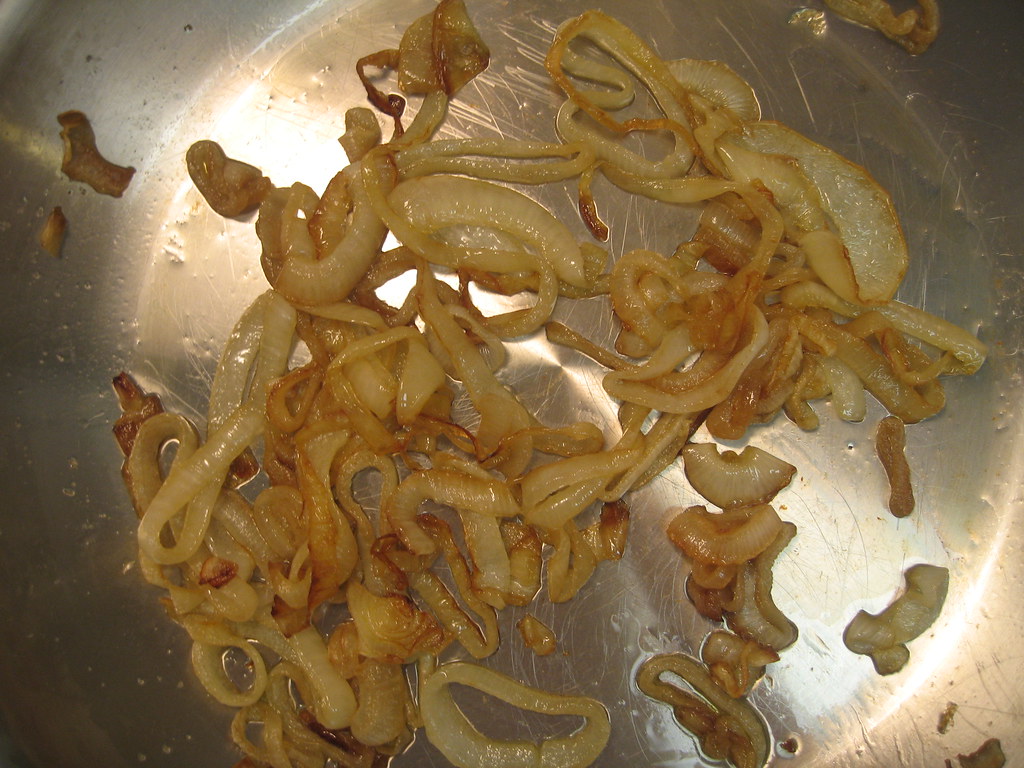
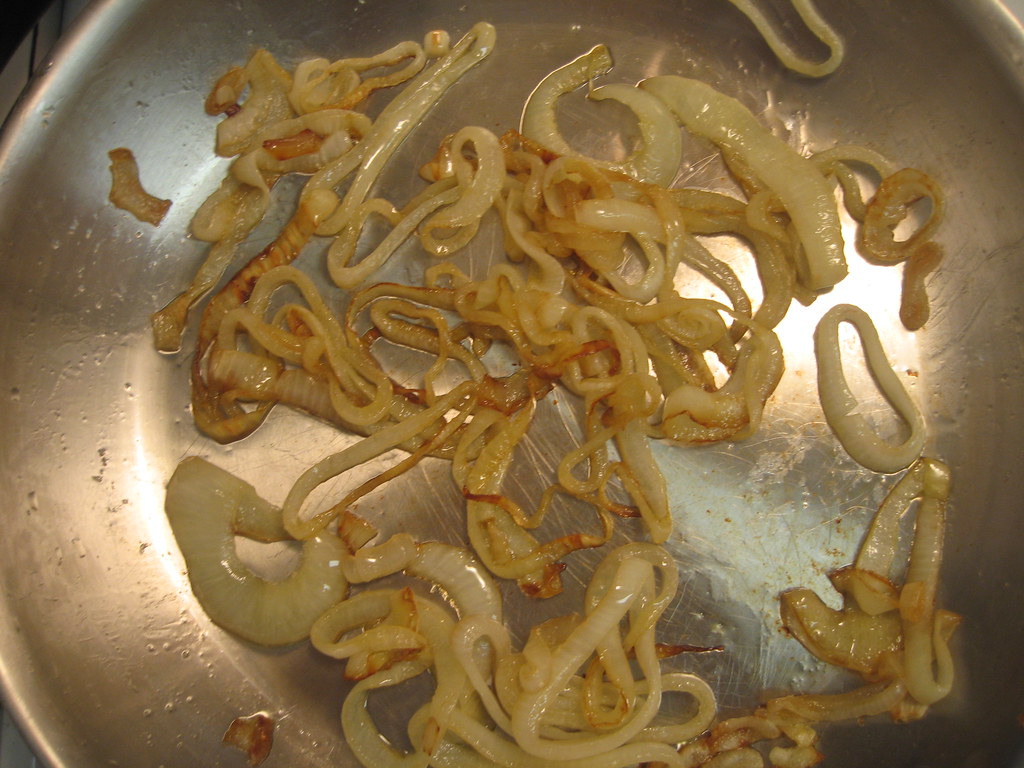
6.  Gently stir onions every few minutes. The key is to give the onions enough time to brown, but to stir them before they burn.  Allow to cook for about an hour.
7.  If onions are close to burning, lower heat a little and add a little extra oil.
8.  After about 30 minutes, scrape the pan of all brown bits and every ten minutes as the caramelization process continues.  Cook until the onions are brown and a little bit mushy.  You might need additional time if you have a large batch.
9.  Optional: At the end of caramelization, add a little bit of balsamic vinegar to help deglaze the pan and add extra flavor.
10.  Use immediately or store in refrigerator in an airtight container for up to a week.

At the beginning...


After 15 minutes...


After 45 minutes...


After 1 hour...


The onions made this Chicken Pesto Pizza extra special.  I only put them on half in case we didn't like them, but that was a mistake.  They are the best part of the pizza!

Sunday, September 13, 2009

How To: Blanch Peas

STOP! Before you go scrolling right on past this post because you can't stand peas, I beg of you to reconsider and hear me out.  I am not a pea fan...ugh. I would never serve them as a side or anything like that, but I have a recipe for a wonderful salad that has blanched peas in it.  I almost did not make it because I have no interest in peas, but the sweet lady that shared this recipe with me, assured me even pea-haters love it! So, for now I am just sharing the process of how to blanch peas so that you will know how to do this step when I share the salad.  And if you happen to love peas, you could really knock yourself out and use this method for all sorts of dishes. 
This is the same process as blanching tomatoes that I shared earlier, but I thought I would demonstrate with one more vegetable.  If you are new to blanching, the purpose is to bring whatever vegetable  you are making "to life" so to speak.  Blanching makes vegetables extra crunchy without completely cooking them.    Use the same method for carrot sticks and other veggies that you would like to serve with dips.
How To: Blanch Peas
Ingredients
1 bag of frozen petite peas (or whatever your recipe calls for)
Large bowl of Ice Water
Step by Step
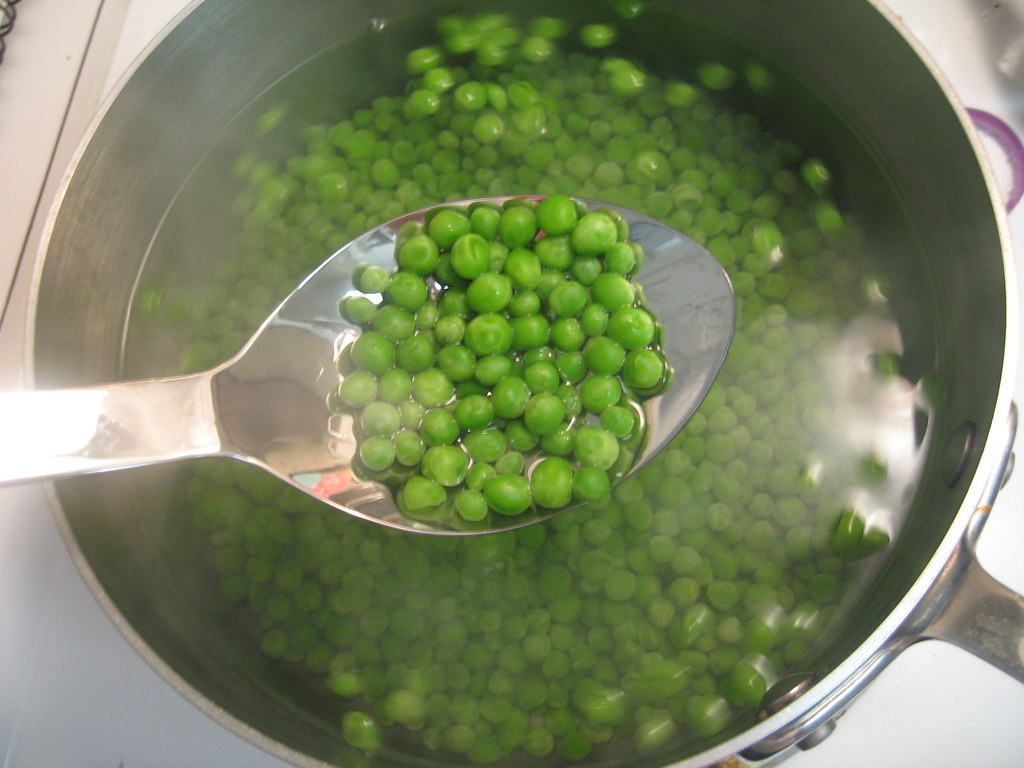
1.  Bring water to a boil.
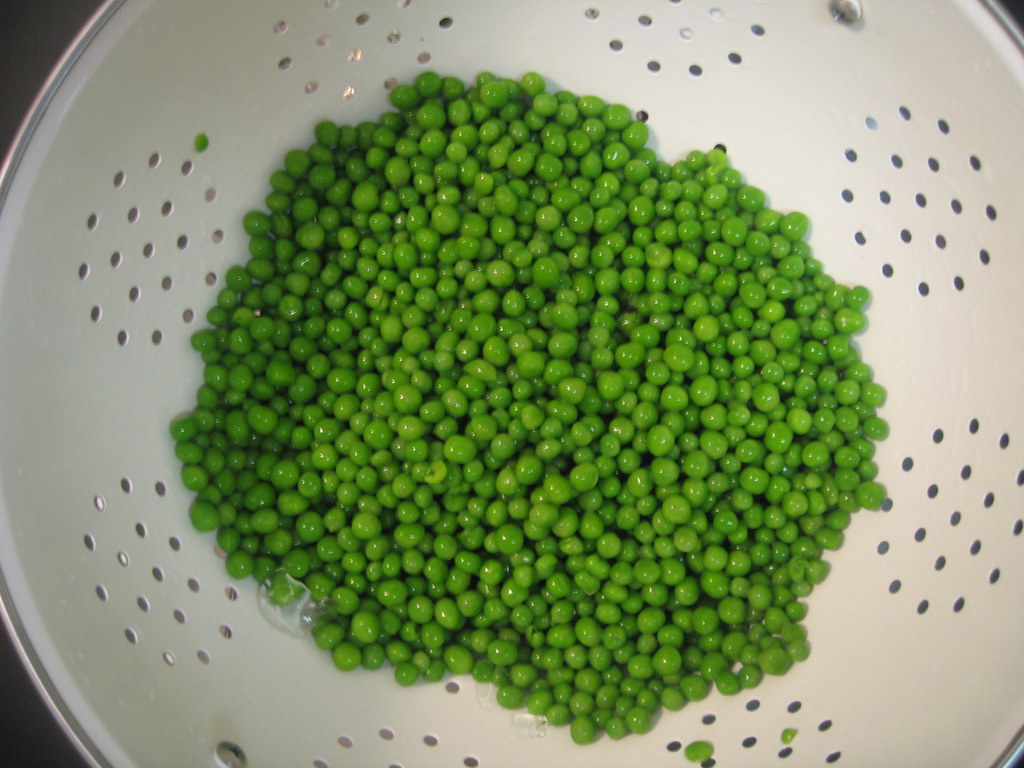
2.  Add frozen peas and allow to boil for about 1 minute.
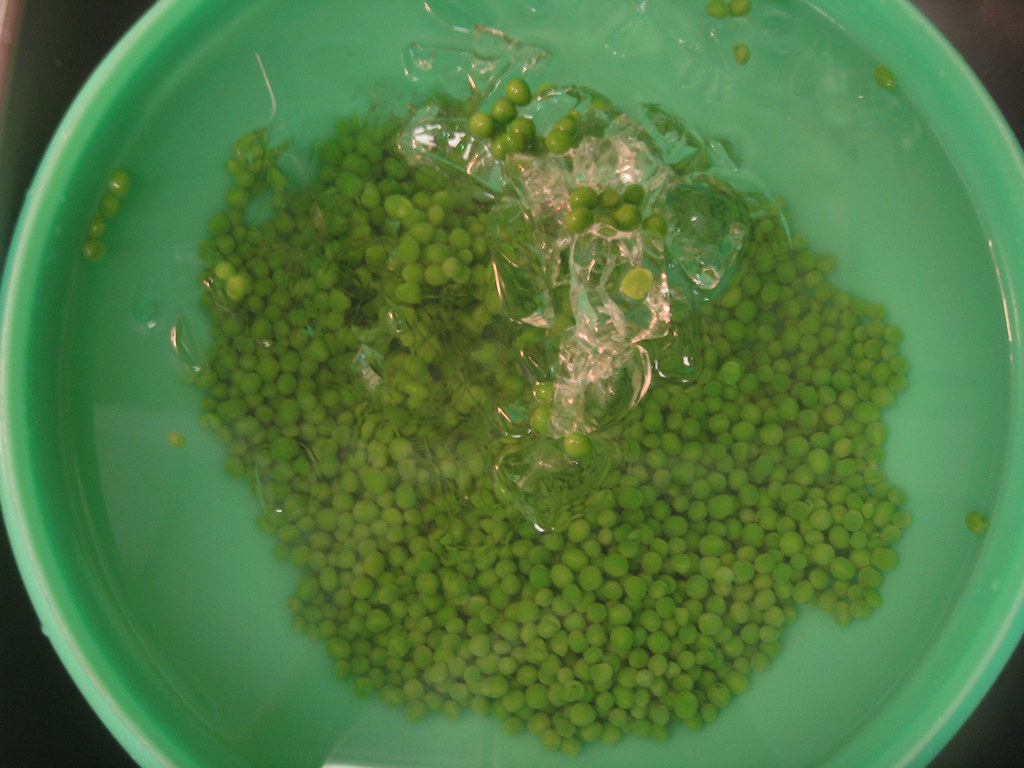
3.  Drain peas and immediately immerse them in a bowl of ice water. 
4.  Allow peas to completely cool.
5.  Remove from water and allow to dry on a paper towel.